For most applications, OpenString PCBs will need to be secured in some kind of enclosure to protect them from the environment and allow physical mounting.
The approach described here is the one used for SIMB3 and uses a piece of extruded plastic with 3D-printed end caps. The extrusion cradles the PCBs so they can be potted with epoxy and sealed for weather-proof use.
A DXF of the extrusion profile used for SIMB3 is available in the repository. You can use this file to source your own extrusion, or adapt the design to your needs. It is designed to be mounted externally using VHB tape to 4 inch diameter SCH 40 plumbing pipe.
We've also provided solid files for the top and center end caps used to seal the extrusion for potting — see the parts list below.
Parts, Materials, and Tools Needed
- Plastic extrusion of desired length
-
3D-printed top end cap -
3D-printed center end cap - Miter saw
- Thick super glue + accelerator
- Q-tips
- Safety glasses, nitrile gloves, and ear protection
Cut Extrusion to Length
Cut or assemble the extrusion to your target length. For reference: SIMB3 uses 78.5 inches, which fits four PCBs (an 80-sensor string).
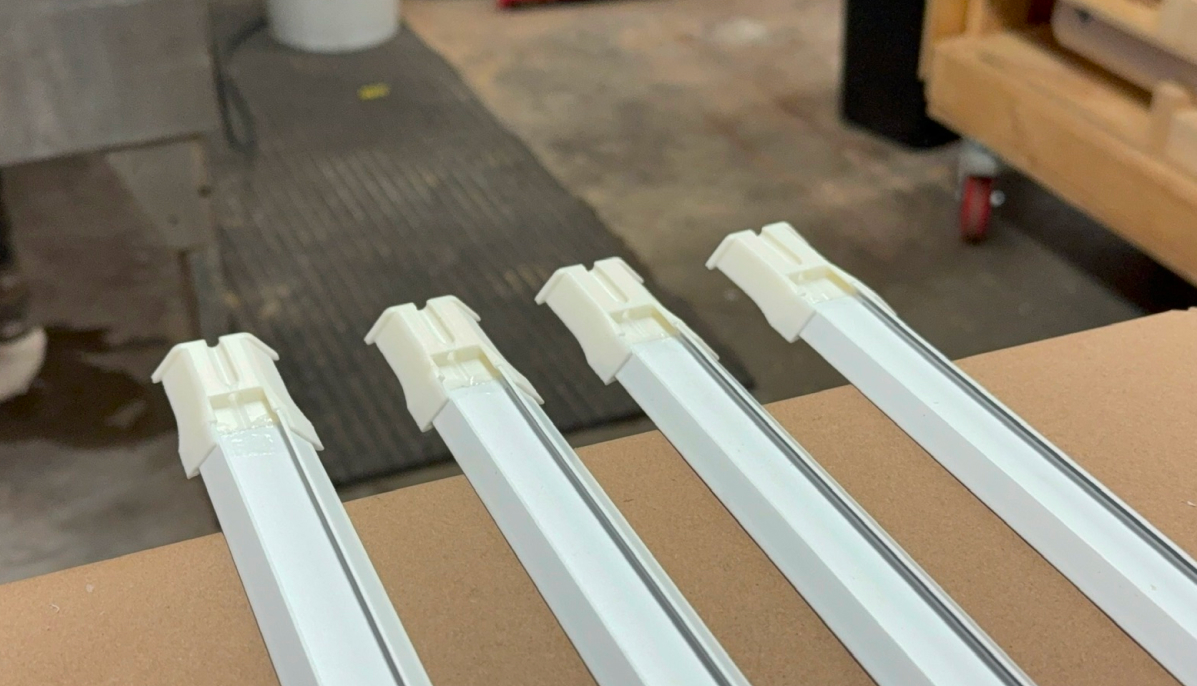
Add the Top End Cap
Spread a layer of super glue into the recesses of the top end cap and slide it onto one end of the extrusion. Coat the corners thoroughly — that's where potting compound is most likely to leak out later.

Add the Center End Cap
Repeat for the center end cap. If glue pools at the bottom, remove or spread the excess with a Q-tip.

Seal the Backside
Flip the housing and apply a thin layer of super glue with a Q-tip along the seam between the extrusion and each end cap. Seal all visible gaps. Reference the video for technique.

Seal the Inner Side of the Top End
Flip the housing upright and apply another thin layer of super glue along the inner side of the top end.
The housing is now ready for board insertion and soldering.